There are some hazy mornings when, on opening our email box, we believe we are not sufficiently awake to believe what we see…
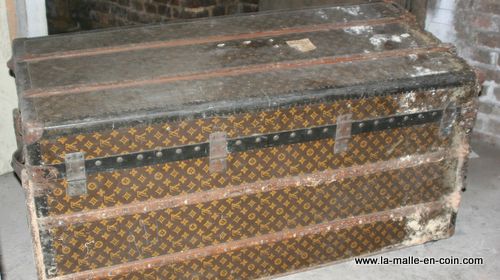
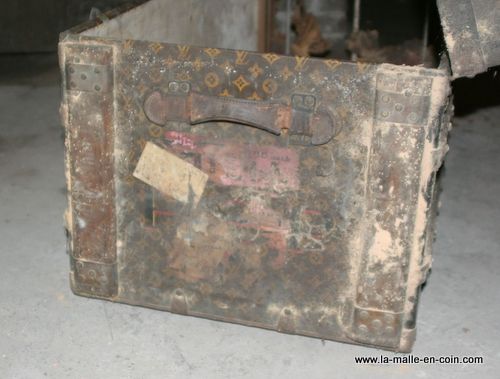
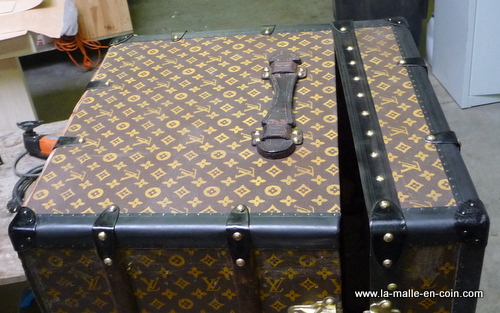
Thus, one morning, we received the below photos.
I examined them well and I thought that, for "parts", in a cannibalizing process, it could be useful.
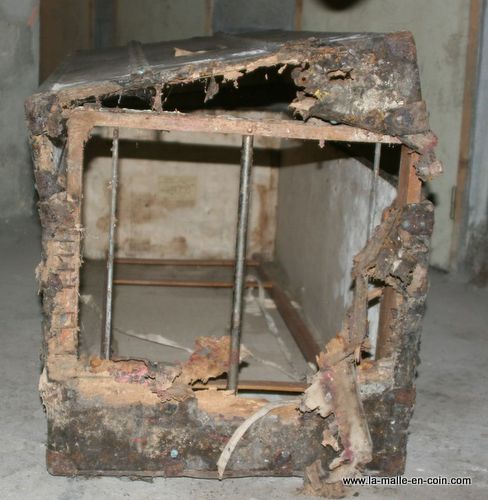
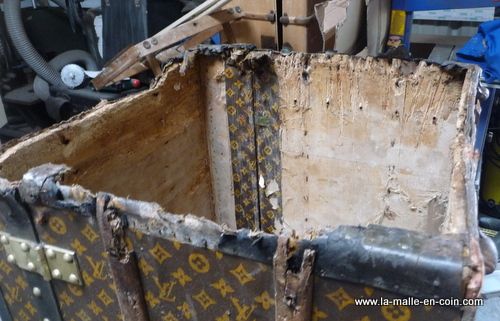
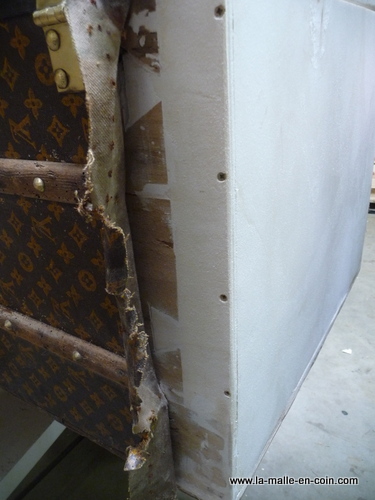
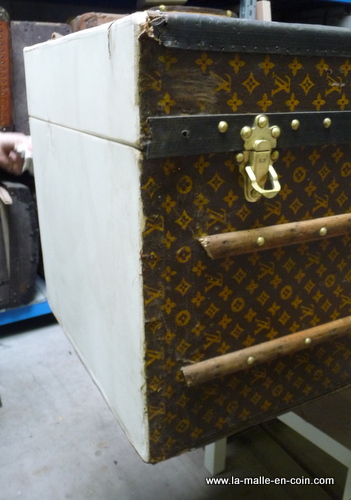
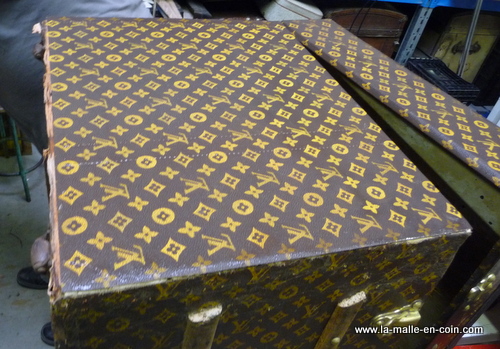
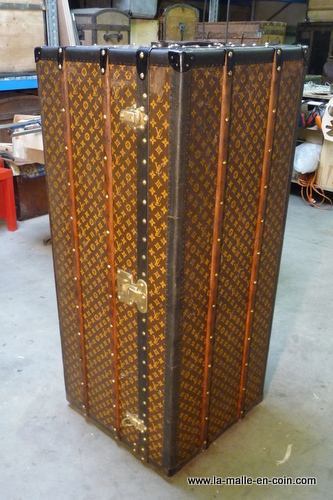
The diagnosis is simple:
- The lid of that wardrobe trunk has vanished (canvas and wood)
- One of the bottom slats is totally "rotten"
- Lozine is destroyed
The trunk has all its pieces.
But when we brought back that trunk to the workshop, we said to ourselves that the challenge of restoring it would be really interesting, to test ourselves.
They are the restoration steps of that trunk that I propose to describe.
Few workshops agree to show their "methods"… On the contrary I think that the description of the work will enable many amateurs to think it over before embarking on this type of works. But that will also encourage you not to discard partially destroyed parts.
Customer Photos:
Step 1
We first dismantled the "rotten" parts that were destroyed.
The jewelry is disassembled on the defective parts.
The nails are restored, the corners are stripped and cleaned.
The trunk is then blown, cleaned and sponged for the first time.
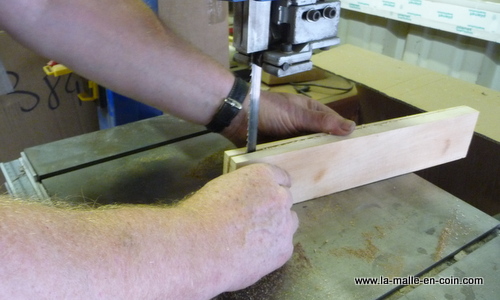
The wooden slats are cut where they are destroyed.
The trunk is wholly treated against insects.
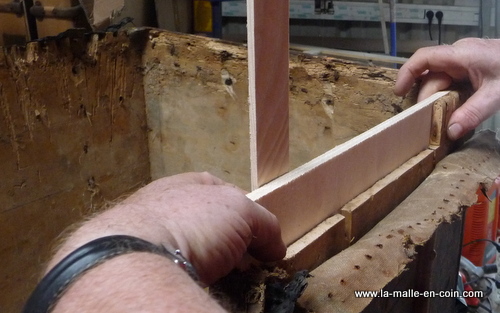
Then we cut the parts of wood that are rotten to replace them later.
It is then necessary to repair the bottom frame of the box.
For this, we use poplar as originally.
The new parts are cut for a dovetail joint so that they fit at best ...

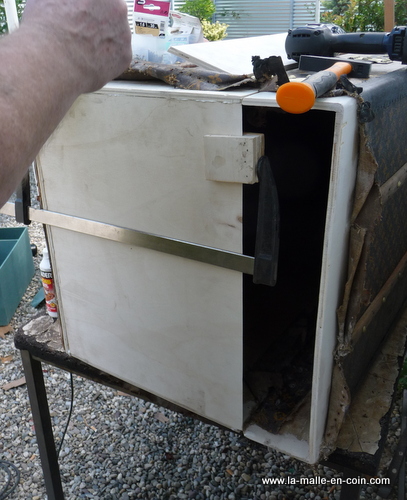
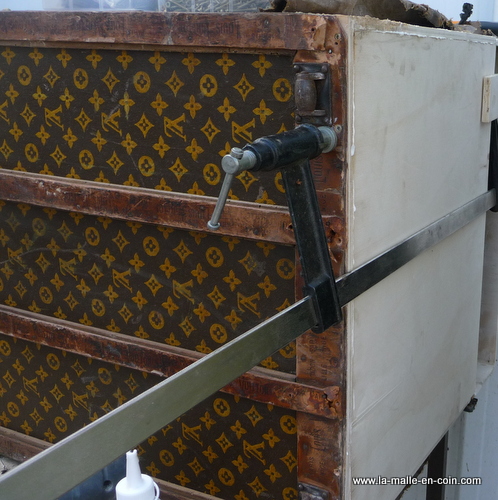
Step 2
Step 3
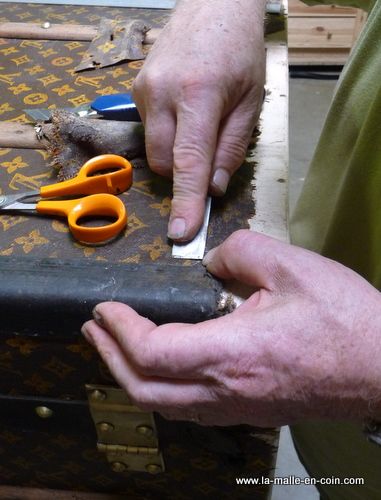
The pieces of canvas are glued.
We take small pieces from the rolled edges of the canvas inside the trunk
in order to patch the original canvas.
Then, we sacrifice an Airbus suitcase from Vuitton, we unpick the stitches
so as to salvage some original and genuine Vuitton canvas.
This canvas, if it has LV monograms, is not quite of the same
dimension and, above all, is not stenciled as it was at the time of our sick trunk.
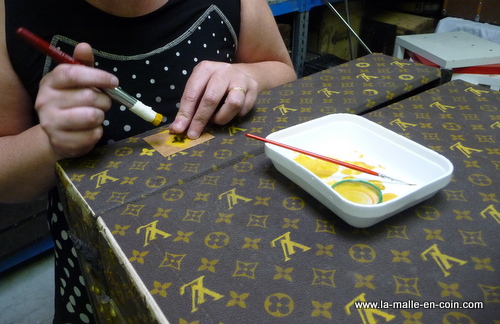
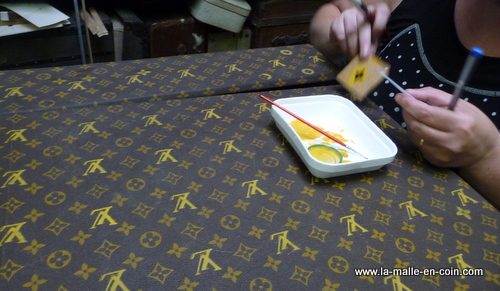
Finally, once the canvas is stuck, a brave woman, member of the workshops staff, will patiently repaint all the monograms by hand.
Touching up is made with a very fine brush.
Then we cut a piece of solid beech, to copy the wooden foot of the underside of the trunk.
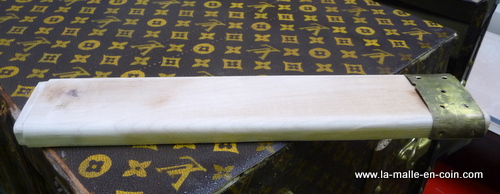
The foot is fixed, then we re-assemble the old lozine parts.
Finally, we re-assemble an original Vuitton leather handle with original Vuitton brackets.
All lozine parts have been re-assembled with steel nails taken on the trunk at the beginning.
The missing nails have been taken on another Vuitton trunk.
All tacks are Vuitton ones, they have been cold riveted as they were originally.
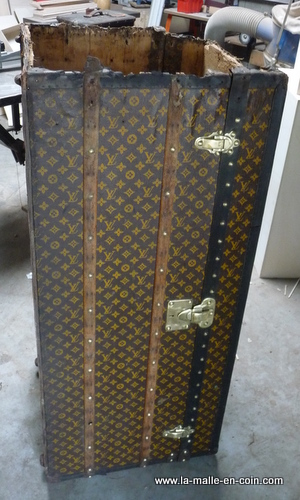
Step 4
Here is the final result.
The trunk is now rebuilt. The restoration can go on for the interior,
like for a classic trunk.
- The brass parts will be cleaned and polished,
- The colors of the lozine parts will be made uniform,
- We will touch up the canvas on the other sides.
You will be able to follow the continuation of this small report, during the future steps.