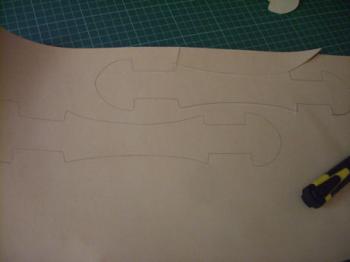
We begin by drawing with a leather marking pen the shapes of our handles; here, using a natural veg-tanned leather.
The thickness of this leather will enable us, to simplify the operation, to lay only 2 layers of leather, without inner core.
It is thus possible to create handles with 2, 3 layers and insert, according to the desired result, a cardboard band, metal etc.
. 
Read more ....
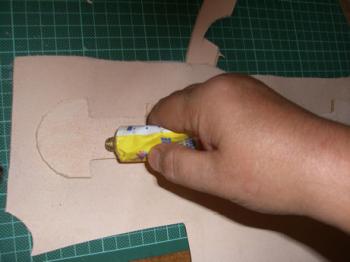
With leatherwork glue,
we glue the 2 leather parts (visible grain, skin glued)
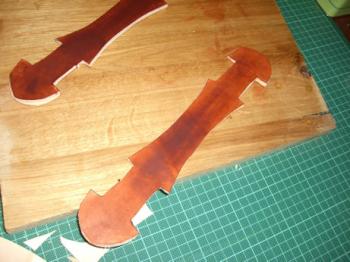
We dye the 2 manually glued handles.
They are sanded and adjusted.
After marking the stitches, we proceed to the saddle stitch using a stitching clam placed between the knees,
The purpose of the operation is that both sides are identical.
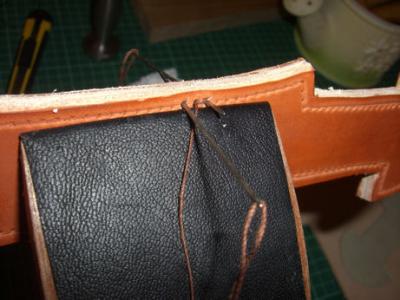
The operator needs to have 4 tools in hands:
2 needles and 2 awls that he pricks successively.
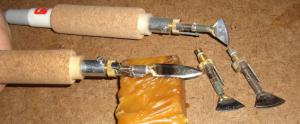
With wax spatulas and wax, we prepare the leather edges of the handles, then we perform a polishing (not shown on these examples).
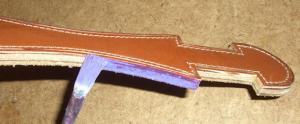
We dye the leather edges.
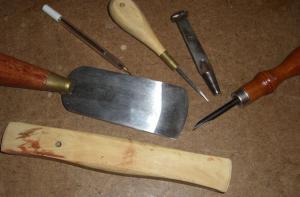
Some leather tools:
- Skiving knife
- Edge beveler
- Boxwood formoir
- Awl
- Leather marking pen

