Leather is an important part in trunk creation or antique trunk restoration.
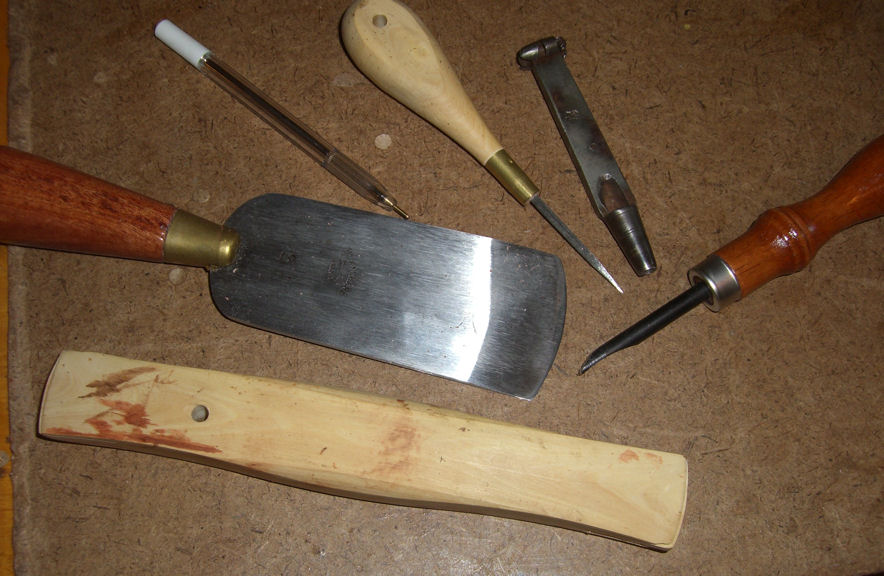
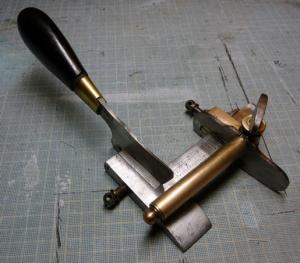
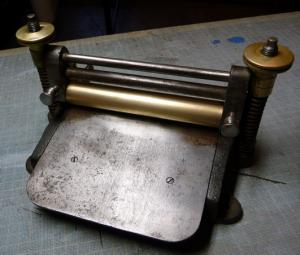
More often than not, you will need the following tools:
(They are examples only; of course the list is non-exhaustive)
- Marking pen for the patterns
- Skiving knife (to skive leather thickness where you need)
- Edge beveller (to remove the corners from your leather edges)
- Awl
- Punch
Etc.
-
Details in : le guide de la restauration des malles de voyages
Creation of new leather handles
1 PATTERN
The shape you want to reproduce of course
You will use a special pen to write on leather.
2 CUTTING
In the raw skin
3 DYE AND DECORATIVE LINE
To be done slowly with small steps
4 GLUE
Stick together the leather pieces in order to put up the handles (from 1 to 3 layers, with or without a core)
5 CUTTING
6 CREASING IRON
7 COMPASS
8 PRICKING WHEEL
9 STITCHING
- With a saddle stitch
- Stitching clam, awl, waxed thread
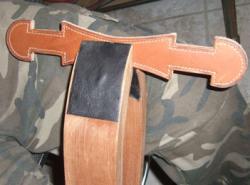
10 TAPPING (the stitches)
You tap the thread down
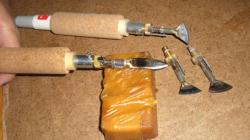
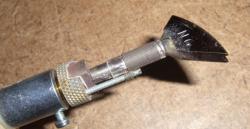
11 HEATED WAX WITH SPATULA
The wax spatula is screwed to an electric handle.
It enables to melt the wax and to apply it on the leather edges and only there.

12 CREASING IRON
See examples on the photos. The iron is screwed to an electric heating handle and enables to make decorative lines at edges of leather.
13 SANDING
Sand the edges, not the grain nor the flesh.
14 EDGES DYING
The product is purple but takes its final color on drying.
.
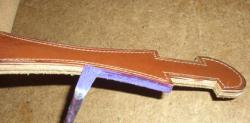
15 COLD WAX 1
16 POLISHNG
A tedious long task, but an important one
17 SANDING
A light sanding as for wood
18 WAX
19 BRUSH

